DIY Adult Tutu Skirt
See how easy it is to make an Adult Tutu. You can wear it to a party, as part of a Halloween costume, as a running costume, or to show off your rainbow pride. The options are endless when you consider sizes, lengths, colors, and events to wear it to.

DIY Adult Tutu
I am a Halloween DIY costume person. I love to come up with simple costumes to avoid buying a costume. Over the years, I have made cows, a ghillie suit, several couples costumes, and many costumes for my children.
I let the kids pick their costumes. They make their costumes as they age, but I assist with the supplies.
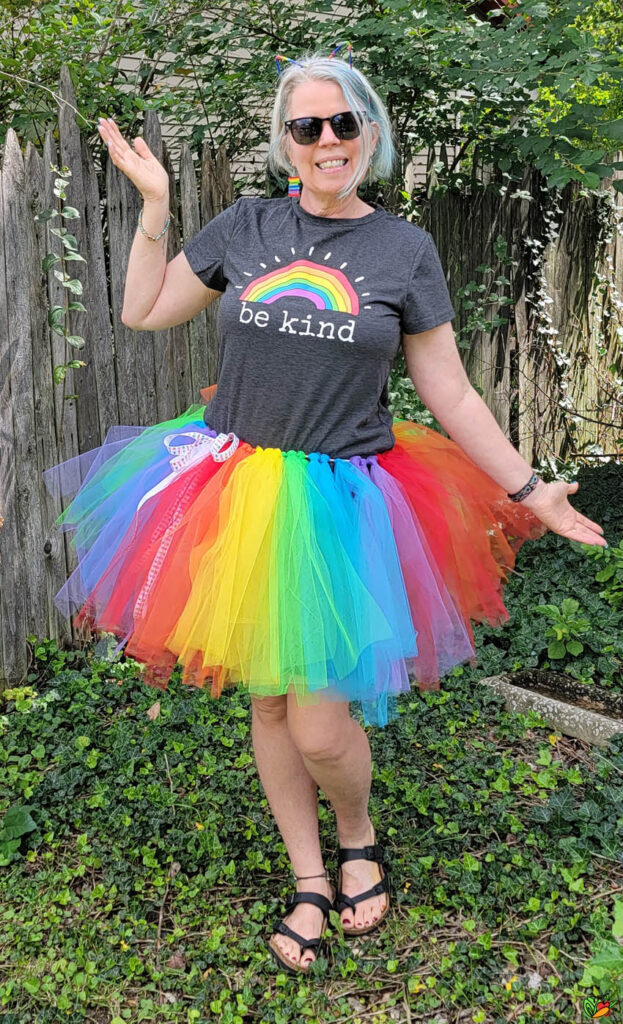
This Tulle Tutu has come in handy and has been used in several costumes over the years. We have since made several, including the Adult Rainbow Tutu shown.
How to Make a Tutu Skirt for Adults
Making a no-sew tutu for adults is fairly easy. The directions can be adjusted to make a plus-sized tutu or one for children.
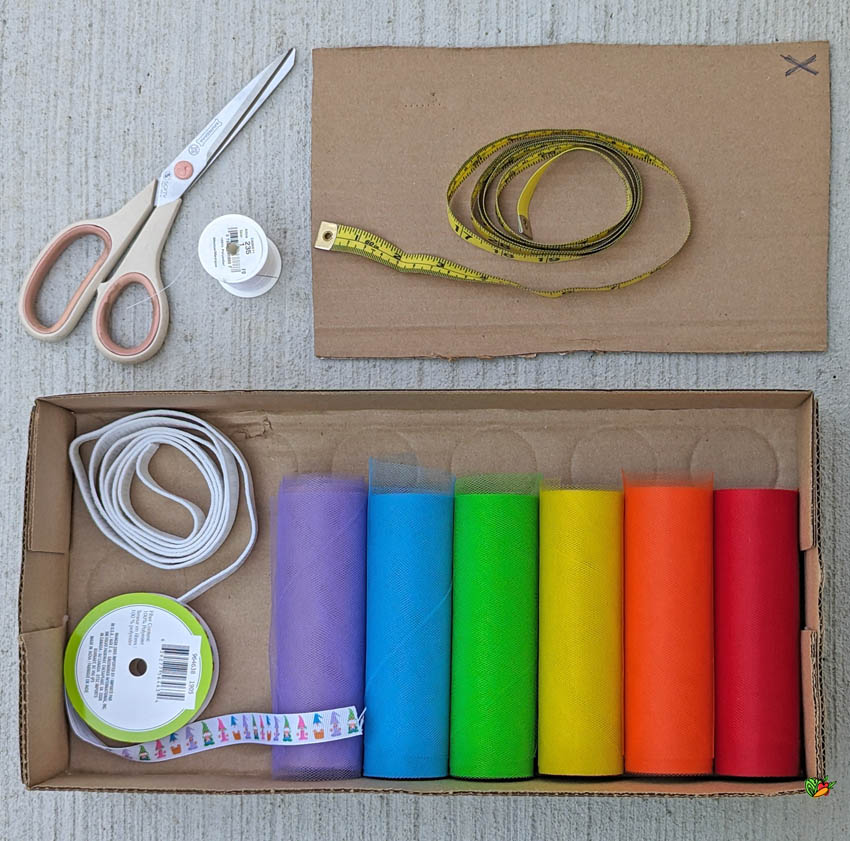
You will need the following supplies:
- Tulle
- Elastic or ribbon
- Cardboard
- Scissors & measuring tape
- If using elastic: a sewing machine or needle/thread
- Optional for elastic: ribbon to add a bow
- Optional embellishments
How much netting do you need for an Adult Tulle Skirt?
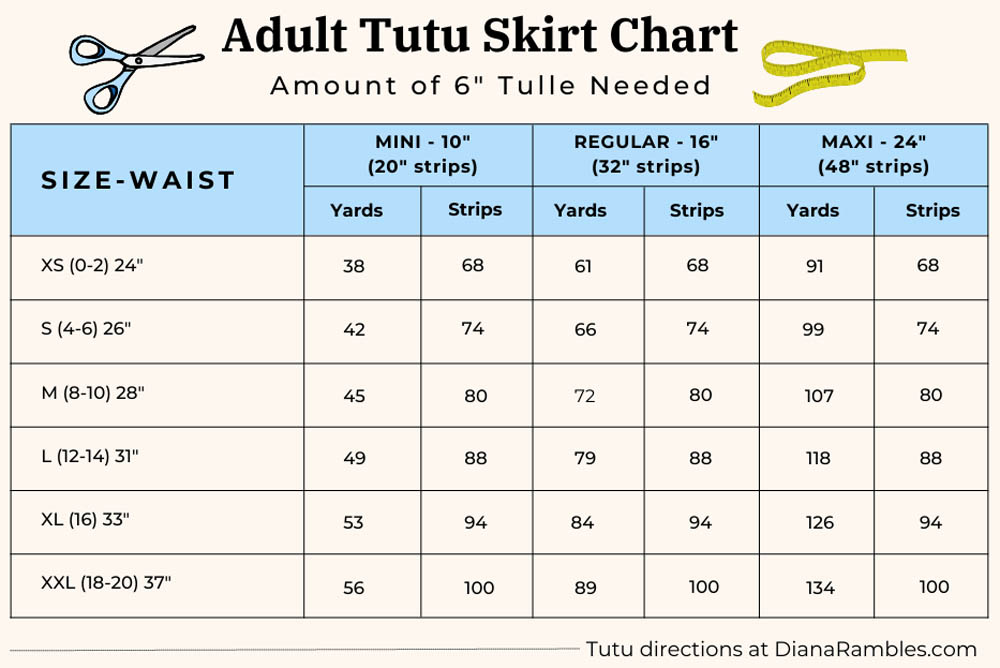
Tulle comes in 6″ rolls. The most common is a 25-yard spool available in all colors. I used 100 yards for my white maxi tutu skirt, which you can make with one spool for under $10.
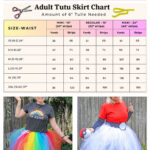
I have determined how much tulle is needed for various sizes of tutus and created a chart.
Please note: the rainbow tutu shown is regular length, and the white is maxi.
How to Make a Tutu for Adults
Making a tutu is easy!
- Cut ribbon or elastic
- Stitch elastic into a loop
- Cut strips of tulle
- Knot tulle on ribbon/elastic
Proudly wear your creation for your next gathering.
Start with the Waistband
Determine how much ribbon or elastic is needed by wrapping it around the waist.
- For the ribbon, add extra length so it can be tied with a big bow.
- For the elastic, shorten the length a little so that it will stretch around the waist.
If using elastic, overlap the ends to form a loop and stitch together using a zigzag stitch.
Should I use ribbon or elastic?
Both have their advantages, so it is up to you.
1-inch Grosgrain Ribbon comes in many colors and patterns and does not require sewing. It allows you to adjust the waist size each time someone puts it on.
1-inch No-Roll Elastic gives you a loop to work with, although if you pull your knots too tight, the elastic can roll.
Quick Way to Cut the Tulle Stips
Cut a piece of cardboard at least 7 inches wide to match the length of your choice of mini 10″, regular 16″, or maxi 24″ tutu. Mark one cardboard end with an X to indicate the cutting start edge.
Start with lining up the edge of the tulle with the cutting edge you just marked, and wrap it around the cardboard repeatedly, counting each time it crosses the start edge. If the tutu is one color, wrap it 10-20 times before cutting. For more than one color, wrap and cut depending on your pattern.
Pause and cut along the starting cut edge only. Pull the tulle strips off the cardboard and stack them folded.
Cut all strips before assembling the women’s tutu skirt.
How to Knot a DIY Tutu
The skirt is made using slip knots.
Before knotting, place the waistband around a form. I cut down the cardboard I used to wrap the tulle to be half of the waist measurement. A pillow, the back of a chair, or similar can be a waist form.
Loop a strip of folded tulle over the band, making sure to loop in the same direction each time. Evenly pull the ends through the loop until a loop knot is formed.
Continue the knotting process to form a full skirt, evening out strips as you go.
Adorn the skirt with a ribbon or embellishments.
For elastic waists, stepping through the skirt is the best way to get it on.
DIY Rainbow Adult Tutu
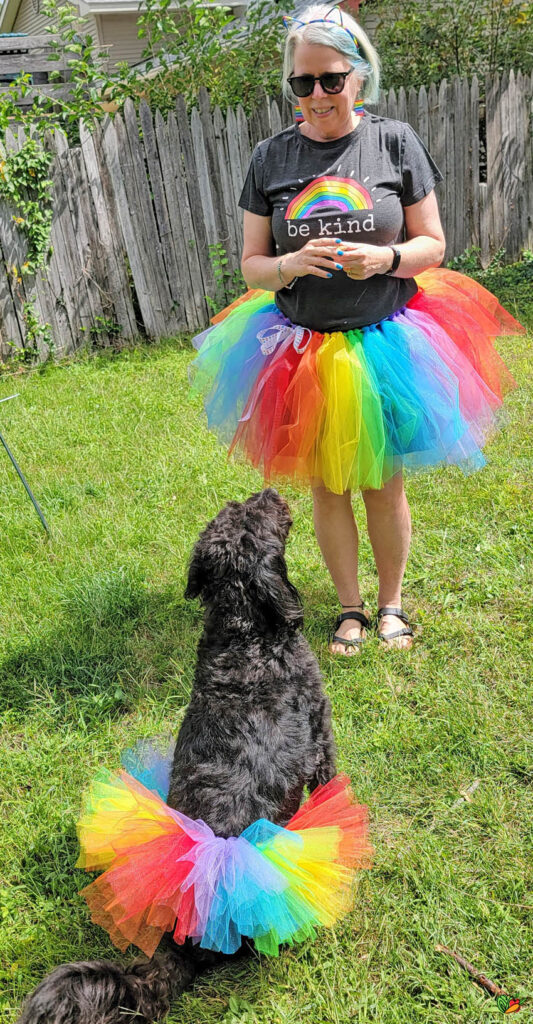
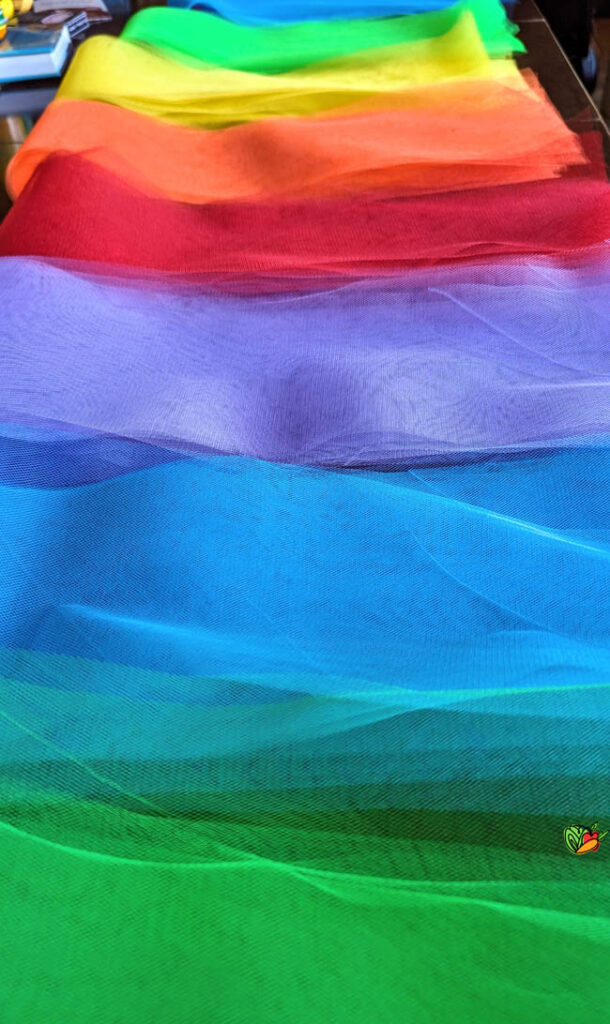
Making an adult’s rainbow tutu is as easy as a one-color skirt.
- Get this Pack of Rainbow Tulle (This was enough for a Medium Regular skirt and a matching one for the dog) See Dog Tutu Tutorial
- Determine pattern and cut accordingly: Mine was three doubled-up strips of each color, repeated three times. (This was 88 yards of tulle, more than the chart above because I doubled each knot.) I cut six strips of each color at a time, laying out the stacks in a long line.
- Proceed with the assembly of the skirt.
Homemade Tutu Halloween Costume
Create a tutu as part of a Halloween costume. Since my kids love Pokémon, I decided to be a Poké Ball. Pokemon fans should check out my free printables.
The red part of the Pokeball is a plain red T-shirt. The white tutu forms the bottom of the ball. The locking bar is made with a felt belt made the following way:
- Cut a strip of black felt fabric to wrap around your waist with a little overlap.
- Cut a circle of black felt bigger than the height of the belt. Cut a smaller circle of white felt.
- Glue the white circle onto the center of the black circle. Glue the complete circle to the middle front of the black belt.
- Use a safety pin to close the belt across the back.

This easy crafting tutorial can be adapted for various widths and lengths and customized with any color you want.
I am pleased with how the tutu turned out. My other homemade costumes include a transforming Pop-Up Camper and a couples’ S’more Costume.


Adult Tutu Tutorial
See how easy it is to make your own adult-sized tutu!
Materials
- 6" wide tulle rolls, see chart above for amount
- 1" grosgrain ribbon or 1" no -roll elastic
- cardboard
- optional: ribbon and embellishments
Tools
- measuring tape
- scissors
Instructions
- Figure out how much elastic or ribbon you need by wrapping it around your waist. For the ribbon, add about 40" to the length so it can be tied with a big bow. For elastic, shorten the length by 2-3 inches so that it will stretch on the waist.
- Elastic: Overlap the ends to form a loop and stitch the ends together using a zigzag stitch.
- Cut a 7+ inch wide piece of cardboard to match the length of your choice of mini 10", regular 16", or maxi 24" tutu. Mark one end of the cardboard to be the cutting start edge.
- Line the edge of the tulle with the cutting edge you just marked, and wrap it around the cardboard repeatedly, counting each time it crosses the start edge.

- Pause and cut along the cut edge. For the rainbow tutu, I wanted the rainbow colors to repeat three times, so I cut six strips at a time. If doing one color, you can wrap it 10-20 times before cutting. Pull the tulle off the cardboard and stack it folded.
- Cut a piece of cardboard to the length of half the waist, or find an object such as a pillow or the back of a chair to mimic the waist. I cut down the piece I used to wrap the tulle.
- Put the elastic or tied ribbon around the waist form.
- Take a strip of folded tulle and loop it over the ribbon, making sure to loop in the same direction each time.

- Pull the ends through the loop until a loop knot is formed. The white tutu shown was made using single folds, and the rainbow was created with doubled-up strips.

- Continue this process with each cut length of tulle to form a full skirt.
- Even out the strips as needed.

- Add a ribbon bow to the elastic if desired.
Notes
Please share your creation on this pin over at Pinterest.
Recommended Products
As an Amazon Associate and member of other affiliate programs, I earn from qualifying purchases.




Thank you, Kim!
Great post and fun tutorial! Pinned! Thank you for sharing on Merry Monday! Hope to see ya next week!
Kim
Thanks, Tammy! You will rock the tutu.
This is so fun! I love this and so easy to make. Pinning and saving for later. I have an event to go to and I’m wondering if this would make a cute costume.
Tutus go with EVERY costume, in my experience. Great tutorial! People are goingto love you in this costume!
Thanks, Ana! It was a lot of fun to create and wear.
So fun! I really love your Pokemon outfit!
Have a great day!
Hugs and love from Portugal,
Ana Love Craft
http://www.lovecraft2012.blogspot.com